Repairing a bike is quite easy as long as you know how to do it and what
to look out for when you buy spare parts. A good example of ignorance is when I
tried to buy a tube for my back wheel. I bought the wrong size of air valve
(too short) and the wrong size of tube itself (wrong diameter). The durability
of the tube was extremely low as it only held out 100 km before bursting. Hence
it is crucial to buy the highest quality of spare parts and it is of the utmost importance to know which spare
parts are needed for your bicycle in particular. The quality and
durability is especially important while trekking or traveling long distances.
In this post, I will try to explain the steps one ought to take to ensure safe,
long lasting and qualitative cycling. I will also share the spare parts that I
can recommend based on personal experience and feedback from the cycling
community online. If you do care about getting the best prices, you ought to
buy your parts from the internet instead of a store, as it is mostly a lot cheaper
AND because you can choose between a broader assortment of products.
I'll give you a list of products that you might need first. You will have to read through the tutorials before buying the parts, as you are probably not aware of what is needed and what isn't. Throughout the article I will use the abbreviation [opt.]. It means that it is not a necessity, but it might save you time and nerves if you use it. It won't ensure better quality though. The quality solely depends on your handiness and you using your brain.
I'll give you a list of products that you might need first. You will have to read through the tutorials before buying the parts, as you are probably not aware of what is needed and what isn't. Throughout the article I will use the abbreviation [opt.]. It means that it is not a necessity, but it might save you time and nerves if you use it. It won't ensure better quality though. The quality solely depends on your handiness and you using your brain.
A list of spare parts for your bicycle that you might or will need throughout this guide
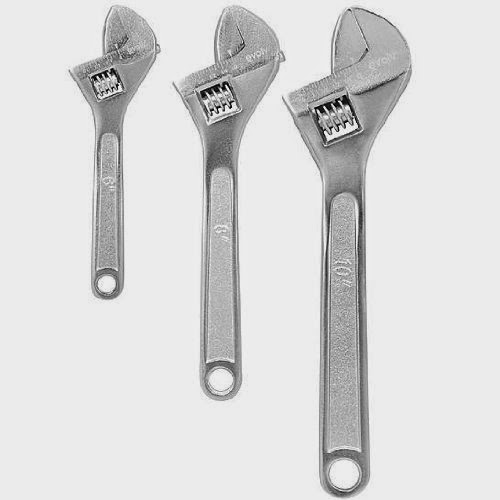
Different sizes of adjustable wrenches
An adjustable wrench is needed for all repairments on your bicycle. Most handy (wo)men already have this tool and I presume - as you are reading this - that you have one as well. Dislocating a wheel will be impossible without a wrench unless your thumbs are made out of iron.
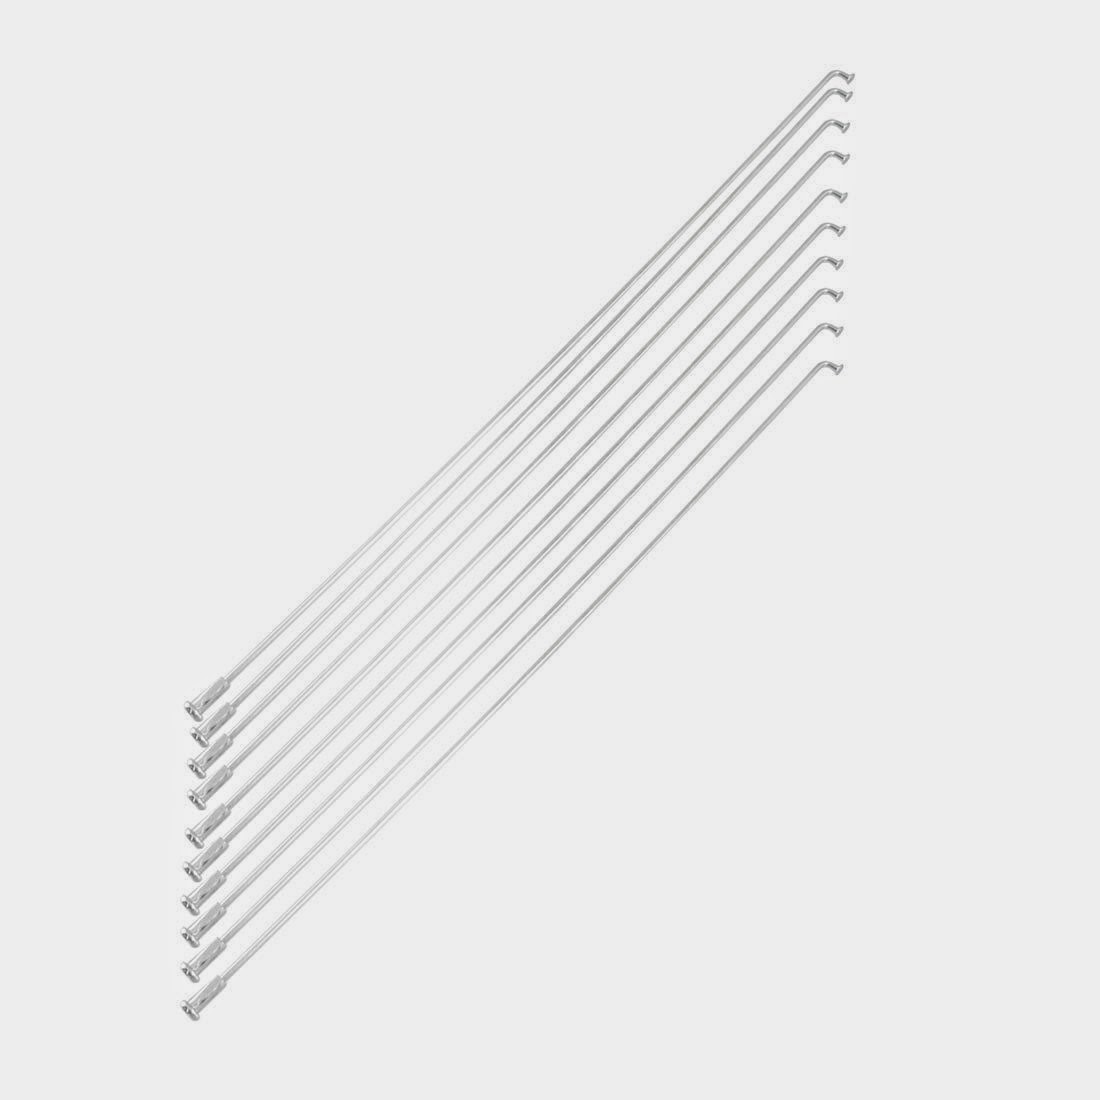
10 Replacement spokes: Silver tone metal spokes (11" = 27,94 cm)
Before buying, I have to urge you to measure the size of your spokes. It is very important to have the correct size. It might also be best if you read through the tutorial BEFORE buying these tools.
10 Silver Tone Metal Bike Twisted Spokes (10.4" = 26,42 cm)
Again, measure before you buy it. These spokes are of good quality and should be easy to implement as long as you read the tutorial beforehand. Good luck!
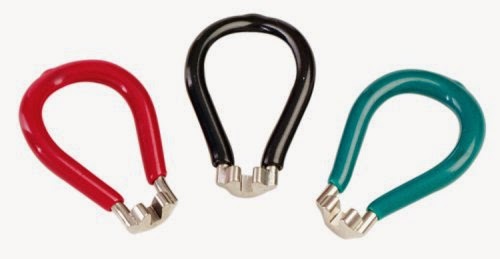
Avenir Spoke Wrench Set
In my opinion, it is always good to have spoke wrenches. You can true / allign your wheel at any time and before the damage is so severe that a spoke wrench can't fix it. An alternative would be to use a wrench even though this is a lot better.
Replacing your spokes and repairing a bent wheel (also called "wheel allignment" or "trueing your wheels")
Replacing a spoke
I have to be honest here. I never came as far as to repair my spokes. On the other hand, I have fixed my bent wheel using the spokes. I will first teach you how to replace a spoke, based on what I have read on the internet, before I move on to repairing a bent wheel. Be wary: it is a rather difficult process and you will have to develop skills and intuition in order to fix the problem.What do you need to know about your wheels in order to change the spokes?
There are different sizes of spokes out there. Because of this, it is important to measure one of the spokes or - if possible - to look up the specifications of the bicycle in order to know the correct size. If you cannot find the correct size by looking at the specs, you will have to start deconstructing your bike in order to find the measurements. That is basically all you need to know for now.How to change the spoke(s)?
What do we need: an adjustable wrench (to dislocate the wheel), pliers (to bend the spoke close to the hub), a spoke wrench, a pump, 2 sturdy table spoons and of course the replacement spoke.
How to replace a broken spoke: you'll need to remove the tube and tire in order to decrease the chances of getting a pinch flat. It is possible that the spoke - when inserting it in the rim - will reach the tube and puncture it. Hence it is detrimental to not remove the tire/tube first. To know how you detach these parts, you'll have to read through the previous steps (how to repair/change a tube).
Let's start:- First you place your bike upside down and put it in a firm position. It is a good idea to clamp the bike or to have a friend help you with keeping the bike stable.
- The next step is to detach the tire and tube from the wheel. If you have done that, you either need to remove a good spoke in order to know its size or - should you already know the size - skip to the next step. You can remove a spoke by using the spoke wrench to loosen the screw where the spoke meets the rim. Use your pliers to bend the spoke-end at the hub of the wheel 90°, enabling you to slide the spoke out of the hole located at the hub. If you have done so, you'll have to measure the spoke in order to know its dimension. Be sure to calculate a bit of wiggle room. If your spoke is too big in the end, you'll need to shorten it with a wire cutter.
- Take the new spoke and put the part without the screw end through the hole of the hub. FYI: the screw end is the part that you will have to attach to the rim by putting the nipple in the whole of the rim and screwing the spoke in the nipple (repairing a bike sounds somewhat sexy or perverted). Bend the spoke that went through the hub slightly so it stays in position. If the nipple is attached to the spoke when you bought it (that is the case most of the time), unscrew it and put the nipple through the hole on the rim. Take the screw end and carefully insert it in the nipple. Tighten it a bit by hand and make sure that the nipple doesn't stick out through the rim. If it does stick out, you can fix this by putting more spoke through the hub, thus shortening it.
- You will have to 'true' your wheel, as it will probably be bent. Please move on to the next tutorial in order to get your bike fixed up and ready to go.
Trueing your wheels / Fixing a bent wheel / Straightening a wheel / Wheel Allignment
How to fix a bent wheel?
In theory, it seems like quite an easy thing to do. In practice, however, this will require you to develop a skill. With my instructions, you will at least be able to do this in theory. Be wary though, taking things too fast and doing it without caution will result in an even more bent wheel. Don't get scared though. You'll get the hang of it in no time. I haven't damaged my wheel beyond repair and neither will you (if you are careful).
What do we need: a spoke wrench, a pencil or chalk to mark the bent, patience and a good eye for detail.
How to straighten your wheel: put your bike upside down and put it in firm position (as always). Rotate your wheel and watch the brake pads. It is important to really take your time here. While spinning the wheel, you will notice that the distance from the brake pad and the rim will decrease and increase while you are spinning it. If not, your wheel is not bent and you do not need to straighten it. If the wheels rubs the right brake, it is bend to the right and vice versa. Take a look at the hub. You will see that the spokes come from the left and from the right. Should your wheel be bent to the right, you will have to tighten the spoke coming from the left side. When it is bent to the right, loosen the right side and tighten the left side (SLIGHTLY! never ever overdo it, as it will decrease durability). Try to tighten not just 1 spoke but also the 2 (or more) spokes next to it. Every small adjustment you make should be evaluated by spinning the wheel. Here it is important to have a keen eye for detail. If you do not have it, try put an object between the brake pad and the rim in order to determine the space between brake pad and rim. Should the object fit on one place, it has to fit the whole 360°. If not, you'll have to do some more straigthening on the spot it does not fit. Just repeat the process over and over again and you will have a straightened wheel.


No comments:
Post a Comment